wxCrafter
About
wxCrafter is a RAD plugin for developing wxWidgets UI applications. You should have a basic knowledge of wxWidgets. See here and here for some information on wxWidgets. In this tutorial, we will create a simple wxDialog with a "Hello World" button and connect an event to it.
Hello World
- Create an empty workspace from
File→New→New Workspace - Select
C++ - Set the workspace path and name and click
Ok - Right click on the workspace and select
New→New Project - Set the project category to
GUI - Set the project name
wxCrafterDemo - Set the project type to
wxWidgets GUI Application (wxFrame using wxCrafter) - Click
Ok - Right click on the newly added project, open the settings dialog and mark this project as
GUIfromProject Settings->General->This program is a GUI application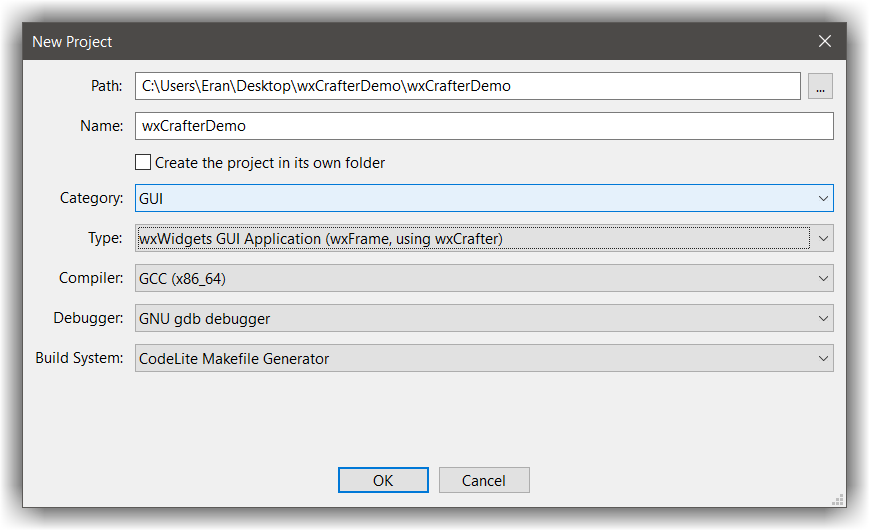
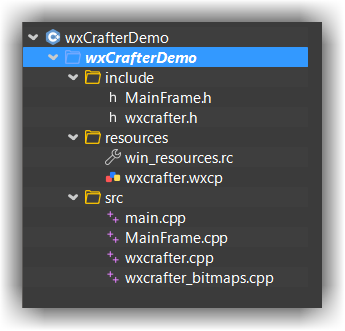
The following table gives a brief description about the generated files:
| File name | Description |
|---|---|
| main.cpp | The application code (derived from wxApp) |
| MainDialog.cpp / h | The inherited code for the dialog. This is where you should place your code |
| wxcrafter.cpp | The generated code by wxCrafter - you should not modify anything in this file as it will be overwritten by wxCrafter |
| wxcrafter_bitmaps.cpp | The bitmaps code. wxCrafter converts every bitmap selected in the designer into C++ code so they will be available during runtime |
| wxcrafter.wxcp | This is the wxCrafter designer file. Double-clicking it will open it in an editor |
- Double click on the
wxcrafter.wxcpfile, this will open the designer
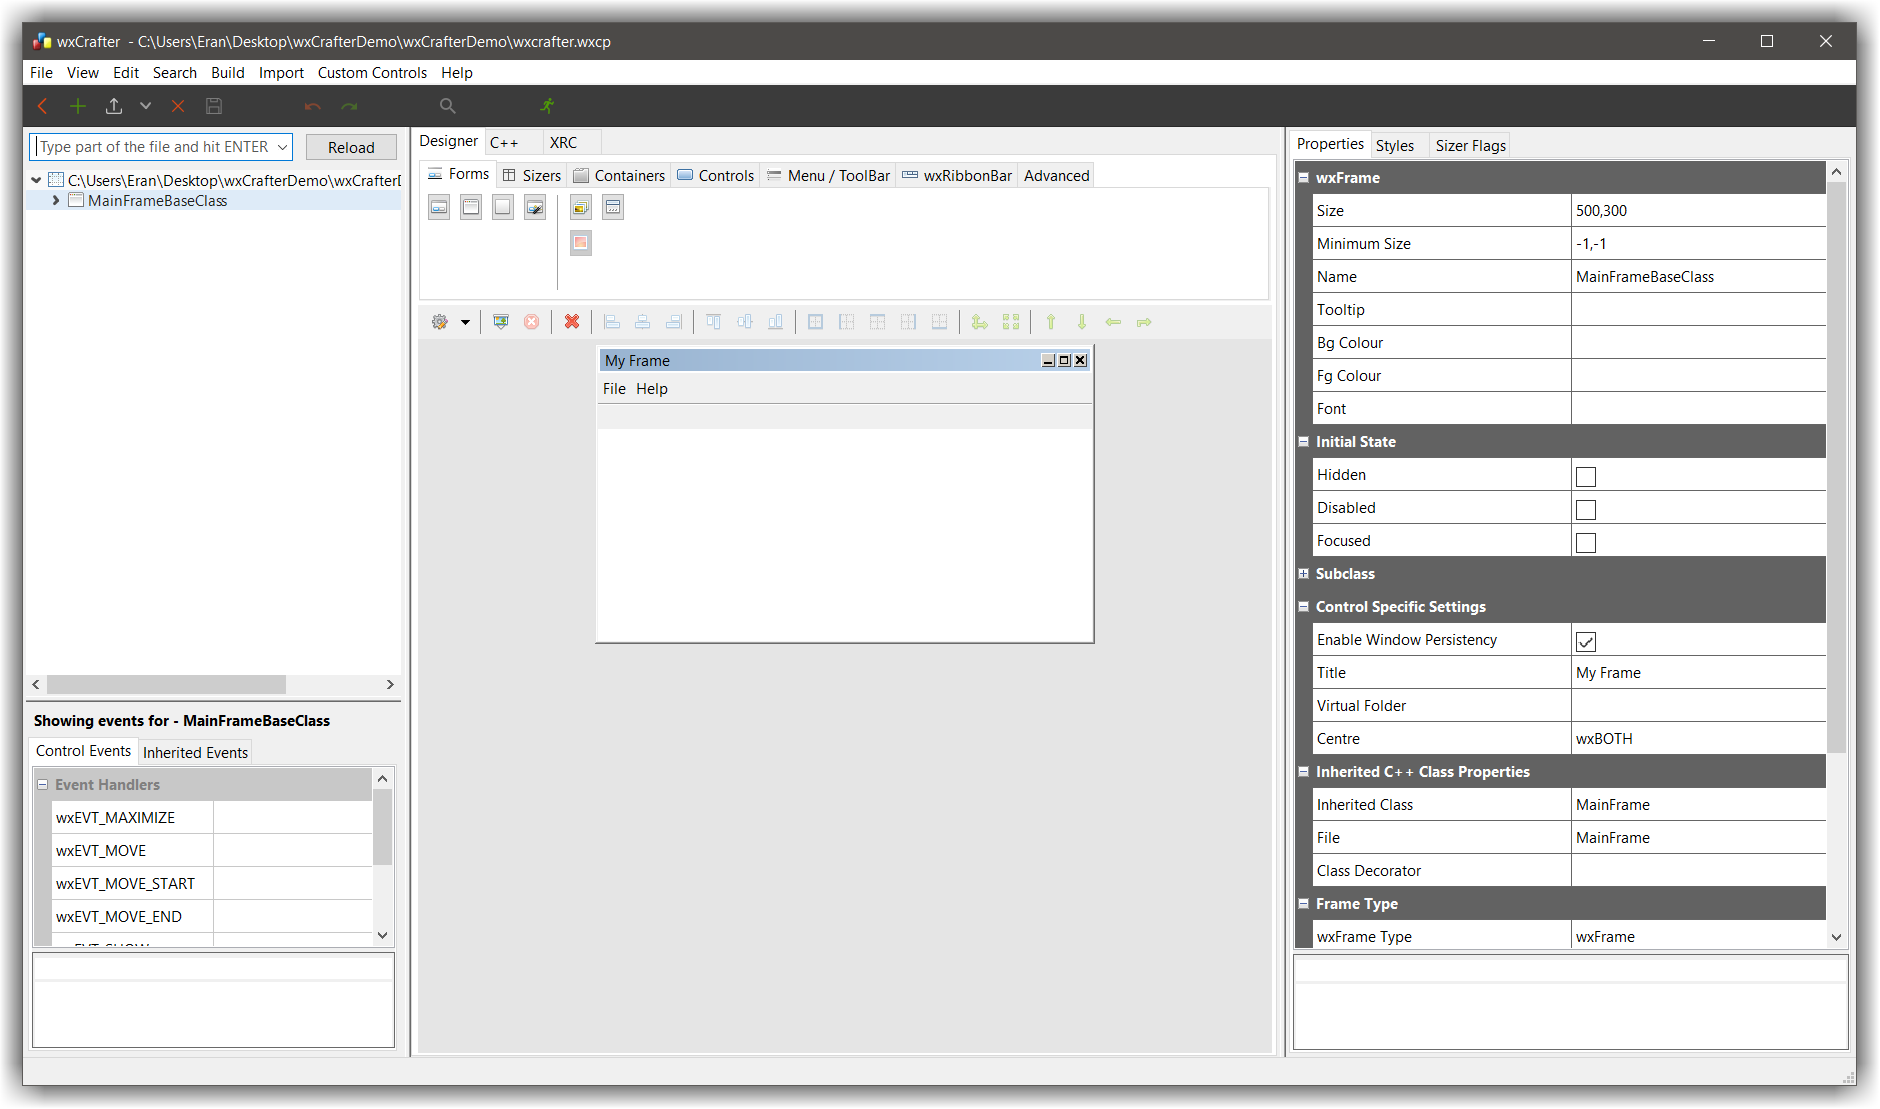
Now, what we would like to do is:
- Add a button
- Connect an event to the button so when the button is clicked, we will be prompted with
Hello worldmessage
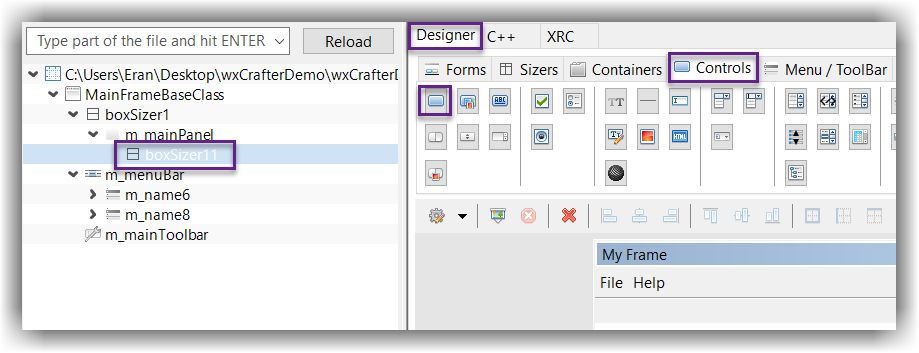
Since controls can only be placed inside sizers:
- Right click
m_mainPanelentry from the tree view and selectAdd Sizer→wxBoxSizer

- Select the newly added sizer, this tells wxCrafter where to add new controls
- From the main view, Select the
Designer→Controlstab, and click on thewxButtonbutton
- Expand the button so it will capture the entire
m_mainPanelarea:- Select the button in the tree view (by simply clicking it)
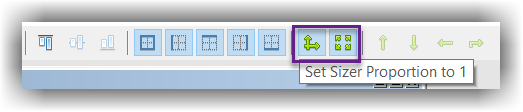
- Clicking on both the
Set sizer proportion to 1andExpand Itembuttons (see screenshot below)
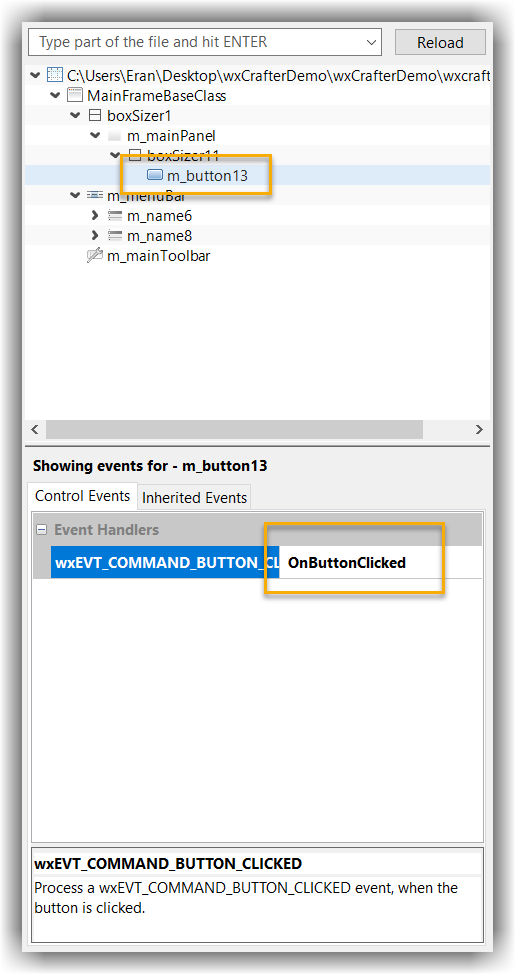
- Select the button and add function for the
wxEVT_COMMAND_BUTTON_CLICKEDnamedOnButtonClicked
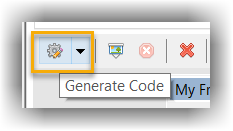
- Save everything and click on the grey cog button to generate the code
- Open the file
MainFrame.cppwithin CodeLite - You should see a new function added at the bottom with this code:
void MainFrame::OnButtonClicked(wxCommandEvent& event)
{
}
- Change it to
void MainFrame::OnButtonClicked(wxCommandEvent& event)
{
    wxUnusedVar(event);
    wxMessageBox("Hello World");
}
and add this include somewhere to the top of this file:
#include <wx/msgdlg.h>
- Build the project by clicking F7
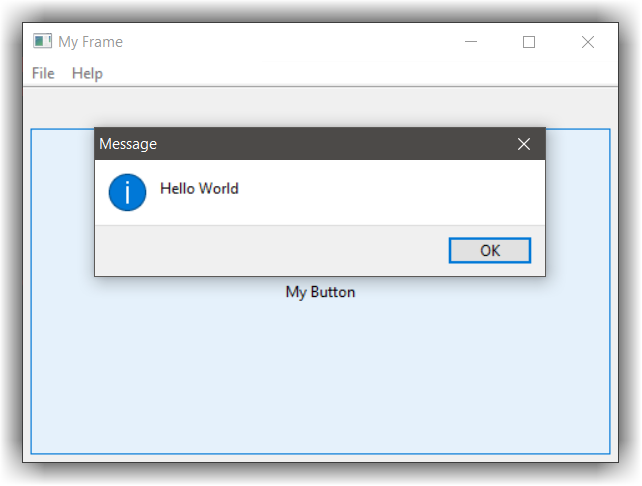
- Run the project Ctrl+F5
- Clicking on the button displays the
Hello Worldmessage box
Project settings
When selecting the root item in the tree view of wxCrafter, you can alter the various wxCrafter project settings
| Property name | Description |
|---|---|
| Output directory | this tells wxCrafter where to place the generated files. If the path set is relative, it will be relative to the current wxcp file |
| Output File Name | the name of the file to use for the base classes. By default, it will use the base name of the current wxcp file |
| Additional Include Files | provide a list of files that should be included in the generated files. The format is "MyFile.h";"AnotherHeader.h" |
| Bitmaps File | Set here the name of the file for the project bitmaps. wxCrafter converts all selected bitmap files into a C array and embed them into the executable. This file contains these arrays |
| Generate Window ID | When setting this to True, wxCrafter will treat any unrecognized Window ID as a enumerator and will place it as member of the relevant class. So if you set a Window ID for a control to be something like ID_MY_BUTTON, wxCrafter will create an enum with ID_MY_BUTTON as one of its enumerators |
| First Window ID | The initial value for the Window ID enum |